(credits to leblogdesushi)
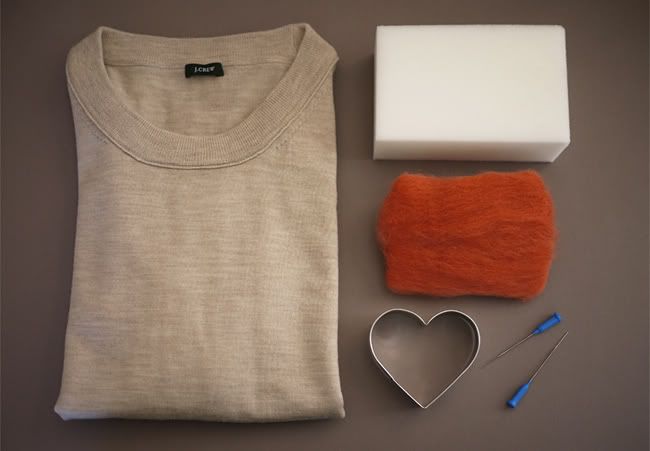
You’ll need:♥ a wool sweater
♥ a 36 gauge felting needle
♥ a piece of dense foam cut to size or needle mat
♥ some wool roving
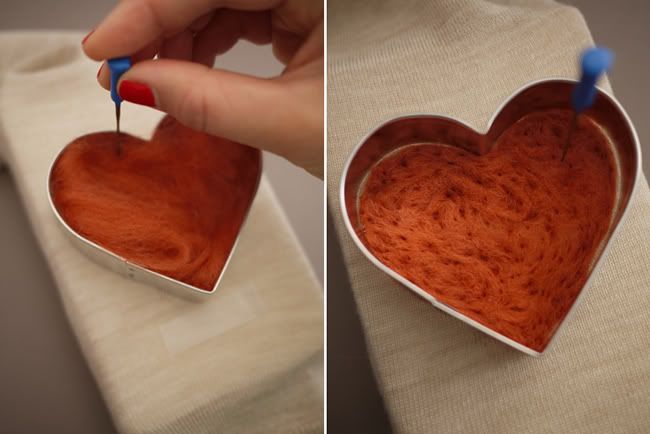
♥ a 3″ heart cookie cutter
♥ an iron
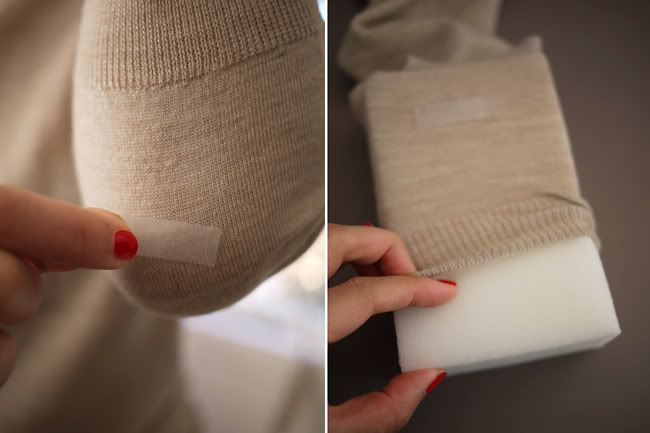
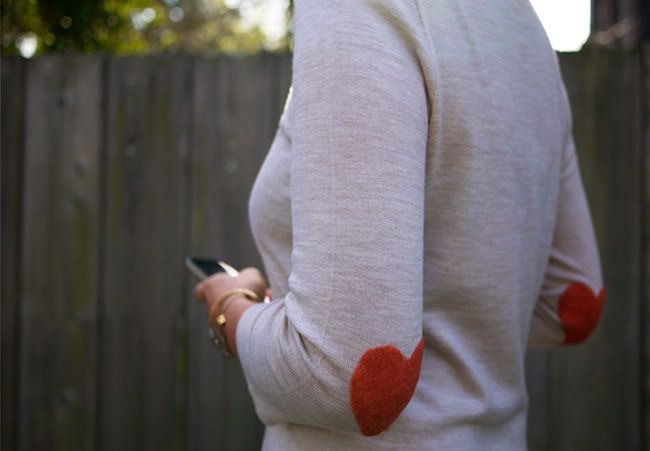
With the sweater on, place a piece of tape about half an inch below the elbow. Do the same with the opposite elbow. Remove the sweater and insert the foam block into one of the sleeves.
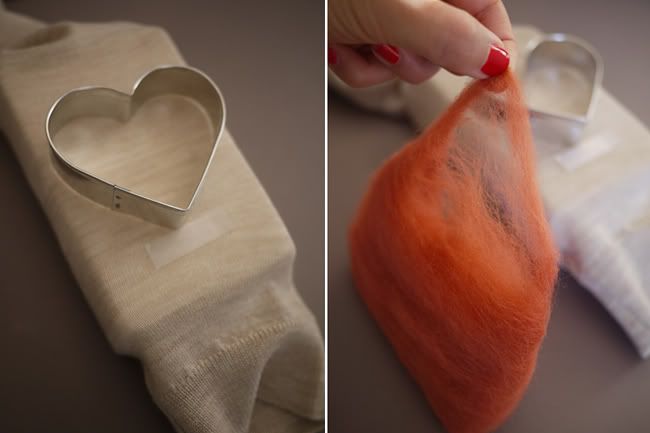
Align and center the bottom of the cookie cutter along the top of the tape. Pinch off a few tufts of wool roving.
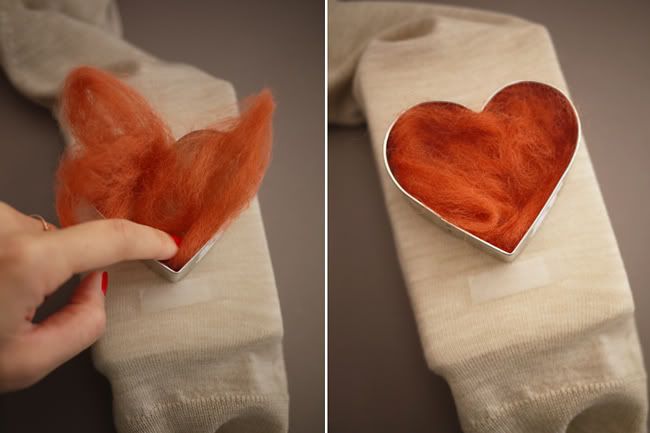
Fill the cutter, spreading out the wool fibers evenly.
At the base of all felting needles are tiny, sharp burrs, which grab and interlock the wool fibers. While holding the needle vertically, repeatedly stab it into the wool roving and through the sweater. Work around the outer perimeter of the cutter first and then work my way inwards.Important tip: To prevent breaking the needle, always keep the needle upright and never at an angle.
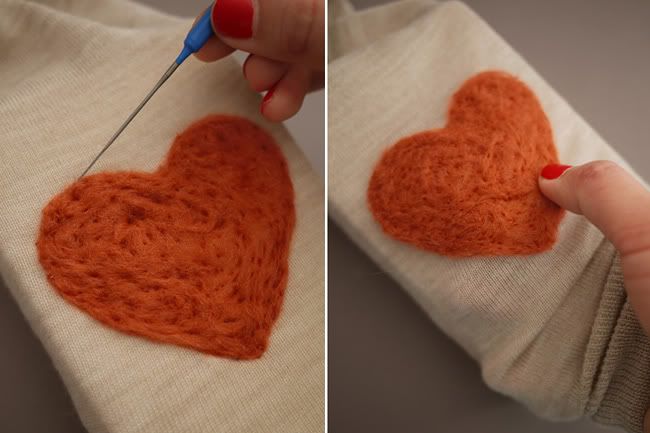
Remove the cutter and use the tip of the needle to reign in any stray fibers. Don’t worry about the holes as they will be fixed later. Patch up any bare or uneven spots by adding more wool roving where needed.
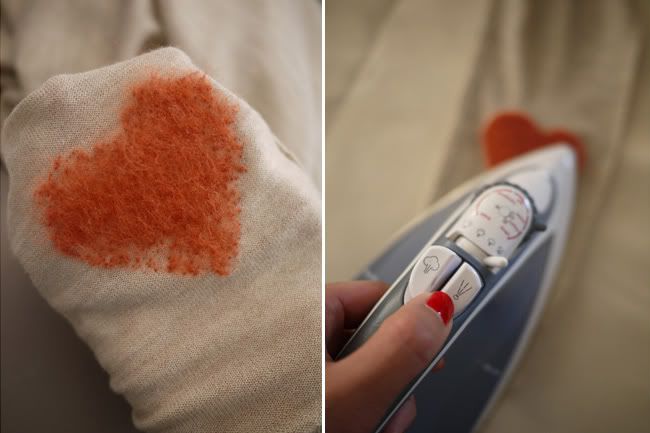
Carefully peel the sweater away from the foam. Notice that the fibers have transferred through to the backside of the sweater. To smooth and set the patch, spritz with water and press with an iron on the wool setting.
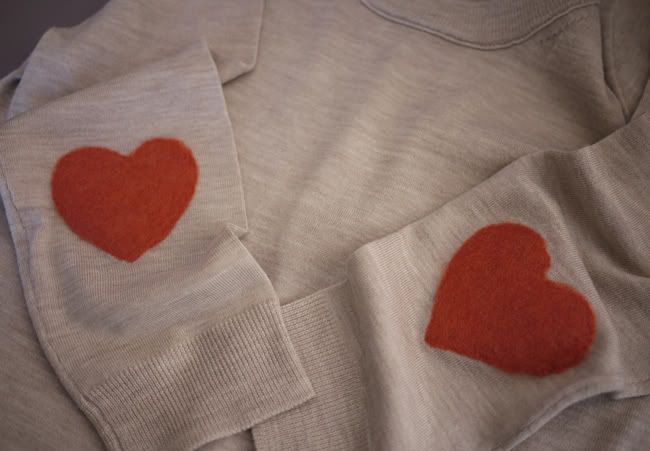
Repeat the same steps on the other sleeve and you're done!
No comments:
Post a Comment